
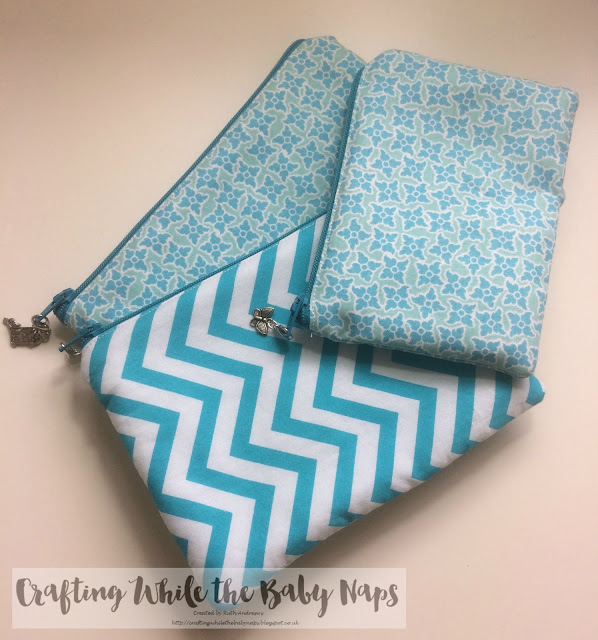
Why Hello! Yes, you have come to the right blog, it is me, Ruth, but I'm here with a non card making project and video. I'm showing you how I make my little zipper bags that I use to transport my Copic markers around when I go off travelling.
I filmed this a few weeks ago and thought it would be nice to share as I'm off to Edinburgh on 26th so I can get to the Daily Marker Coloring Challenge Road Trip with Kathy Racoosin and Debby Hughes on the Sunday. Big thank you for my husband for doing his duty at bath time over the weekend :) To say I'm excited is an understatement!!
I make these bags based on a You Tube tutorial I saw by Made Everyday and I thought I'd share with you how I do it, in case you feel inspired to make your own. With a little bit of practice for the zip and if you go slow and steady with your sewing, you can make these quite easily.
This is what I use to make them:
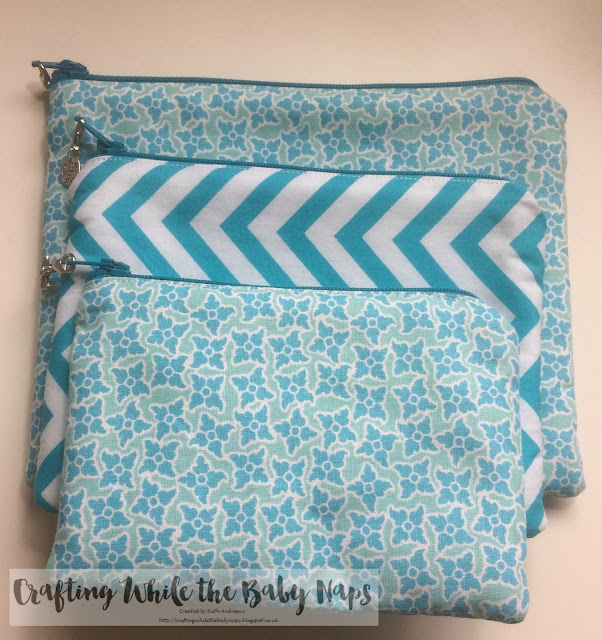
The video shows the process, as you can make these any size you like, but I can make 3 bags from two fat quarters. My finished bags measure 8x6, 7x5 and 6x4 inches.
Fold each fat quarter in half length ways right sides together and iron them before cutting. With the fold to the bottom of the cutting mat, place it just slightly overhanging the bottom. You will trim it to separate the pieces later. Then cut out your pieces as mentioned below. If you cut it this way you will get the number of pieces you need.


This close up shows how you measure 9 inches up the side and then cut along 7 inches.
Here's the video which shows how you make them up - you'll see more clearly the sizes I've mentioned above.
I have been sending these out as presents to friends, but some friends have suggested selling them, so I may one day.
Happy crafting! I will update my blog with details of the coloring challenge road trip when I return at the start of next week.

I filmed this a few weeks ago and thought it would be nice to share as I'm off to Edinburgh on 26th so I can get to the Daily Marker Coloring Challenge Road Trip with Kathy Racoosin and Debby Hughes on the Sunday. Big thank you for my husband for doing his duty at bath time over the weekend :) To say I'm excited is an understatement!!
I make these bags based on a You Tube tutorial I saw by Made Everyday and I thought I'd share with you how I do it, in case you feel inspired to make your own. With a little bit of practice for the zip and if you go slow and steady with your sewing, you can make these quite easily.
This is what I use to make them:
- Quilter's Ruler
- Rotary Cutter
- Cutting Mat
- 2 fat quarters
- 3 zips the length of your finished bag. I use 8,7 and 6 inch zips (the whole zip will be about an inch longer)
- Quilter's clips/pins - I use a combination of both
- Fusible fleece
- Thread - I generally just use white, but you can use a matching colour
- Iron and ironing board
- Sewing machine
- Zipper foot
The video shows the process, as you can make these any size you like, but I can make 3 bags from two fat quarters. My finished bags measure 8x6, 7x5 and 6x4 inches.
Fold each fat quarter in half length ways right sides together and iron them before cutting. With the fold to the bottom of the cutting mat, place it just slightly overhanging the bottom. You will trim it to separate the pieces later. Then cut out your pieces as mentioned below. If you cut it this way you will get the number of pieces you need.


This close up shows how you measure 9 inches up the side and then cut along 7 inches.
- An 8x6 bag will need two outer pieces measuring 9x7; two lining pieces measuring 9x7 and two 8x6 pieces of fusible fleece. You will need an 8 inch zip.
- A 7x5 bag will need two outer pieces measuring 8x6; two lining pieces measuring 8x6 and two pieces of fusible fleece measuring 7x5. You will need a 7 inch zip.
- A 6x4 bag will need two outer pieces measuring 7x5;two lining pieces measuring 7x5 and two pieces of fusible fleece measuring 6x4. You will need a 6 inch zip.
Here's the video which shows how you make them up - you'll see more clearly the sizes I've mentioned above.
I have been sending these out as presents to friends, but some friends have suggested selling them, so I may one day.

Happy crafting! I will update my blog with details of the coloring challenge road trip when I return at the start of next week.
5 comments:
These are fabulous little bags. Totally jealous of your trip too! Have a fab weekend x
What a great clear and concise tutorial Ruth! Love those little bags! I very very rarely get my machine out as I have had it more years than you have had birthdays and it weighs a ton! Yours looks nice and light, what make, model is it and where could I get one? Thanks for the step-by-step! Have a lovely weekend my friend! Love & Hugs. Hazel xx
My Card Attic
This is a great tutorial! Thanks for sharing.
I LOVE THESE BAGS! What a great video. Also, HOW FUN was it to meet Kathy and Debbie! Have you met them before? Very jealous you got to actually CREATE with them :) Lucky you
These are really cute pouches Ruth, I havent had a chance to watch your videos yet but i will very soon! xx
Post a Comment